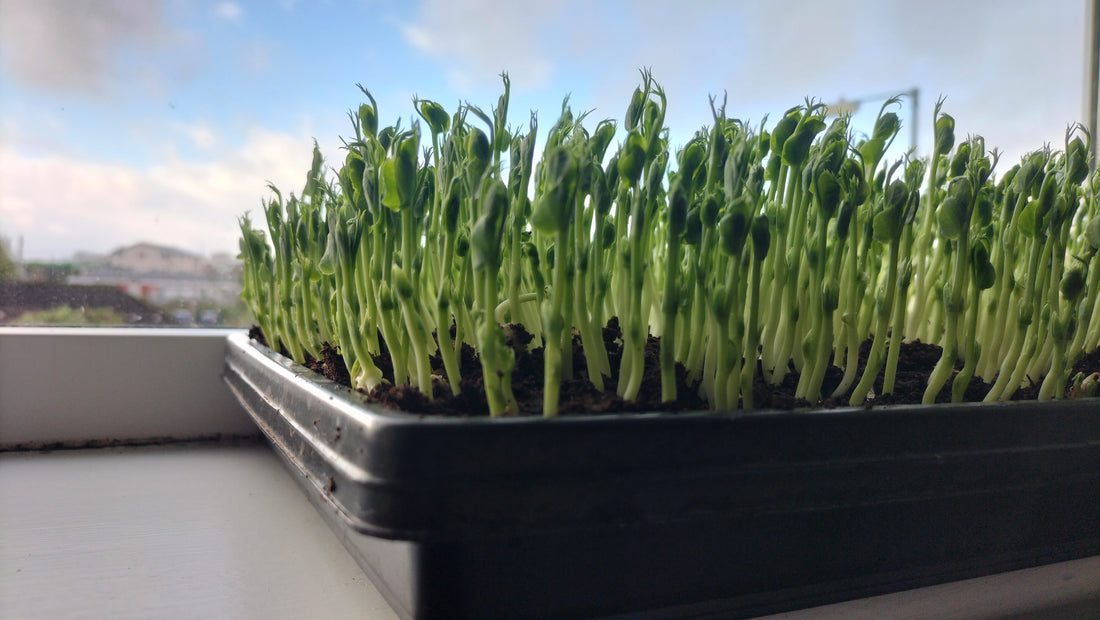
If you want to go from the picture on the left to the one on the right in under 14 days, keep reading.

What Are Microgreens?
If you don’t know already, microgreens are baby vegetables and herbs, usually grown for only 1 to 3 weeks before harvesting them. They can be grown indoors on your windowsill. They taste amazing and the best thing about them is they are very nutritious.
Microgreens Nutrition
Seeds come ready made with the genes of the plant it produces and enough nutrients to produce young seedlings (microgreens). These nutrients are passed into the seedlings making them very nutritious. One study found that some microgreens can have up to 40 times the nutrient density as compared to the fully grown adult plant.
Microgreen Varieties
The main plant varieties grown for microgreens are Brassicas (Broccoli, Cabbage etc.) Legumes and Herbs. Some varieties should not be grown as microgreens. For example, peppers and tomatoes should not be consumed as microgreens as they are in the nightshade family (Solanaceae) and they could make you sick. To be safe, it is best to grow from seeds that are labelled as microgreen seeds. This is also the best value.If you haven’t done this before and you fancy giving it a try, I would recommend you start with growing pea shoots, they are the easiest to grow in my opinion. I will outline how to grow them below in 10 easy steps. All of the materials mentioned are available on our website, but you can also use materials you might already have at home.
A microgreens growing starter kit with all the elements needed in it is available here.
How To Grow Pea Shoots
If you haven’t done this before and you fancy giving it a try, I would recommend you start with growing pea shoots, they are the easiest to grow in my opinion. I will outline how to grow them below in 10 easy steps. All of the materials mentioned are available on our website, but you can also use materials you might already have at home.
Step 1
Take a tray with holes and put it inside a tray with no holes. The trays in the pictures below are 10 x 10 inches in size, they are a lovely tray to grow microgreens in as they are shallow. This way you use less compost and the plants are easy to harvest. But any tray or pot you have available will do. We recommend putting the tray with holes inside the tray with no holes as this makes watering easier later on.
Step 2
Fill the tray with holes about half the way full with compost or coco coir. Break up the compost/coir as best you can to make it fine. Then tamp it down with something. You can see below that I am just using a piece of wood to do it (you can also just use your hand). We have coco coir bricks available here The bricks expand into growing medium when water is added to them. It is a very good growing medium for growing microgreens in.
Step 3
Spread the pea seeds evenly on top of the flattened compost/coir. I am using our Green Pea Microgreen seed here, and I used 120g in this 10 x 10 inch tray. Press the seeds into the soil.
Step 4
Cover the seeds very lightly with a layer of compost and press it down, and then water it. It is not like planting a traditional pea seed, you don't need to cover them with much compost, the compost is is just on top of seeds to hold moisture for them to absorb.
Step 5
Place another empty tray with no holes on top of the compost and seeds. Place a light weight inside this. The one I’m using here is 2.3kg. This isn’t an exact science though, you’re just trying to keep enough weight on so that the roots grow downwards and don’t push the seeds up and out of the compost, as we haven't covered them with much compost.

Step 6
Wait for a few days and then take the weight and empty tray off the top. You should see the sprouting seeds coming through the soil.
Step 7
Turn the empty tray you were using to hold the weight upside down and place it on top of your tray of seed and compost, so it acts as a dome. This step isn’t 100% necessary, but it’ll help your pea shoots grow a bit taller as they will stretch in the darkness.
Step 8
After another couple of days, remove the tray that has been acting as a dome and water your pea shoots from the top. This will help knock off any compost that might be stuck to them.
Step 9
Put the tray of pea shoots on your windowsill. Water every couple of days by lifting up the tray that the seeds and soil are in and pour water into the lower tray. This way the water will be absorbed from the bottom, and the plant's foliage can stay dry.
Step 10
Harvest your pea shoots! You can harvest as you need them at any stage. I find they are at their best 10 to 14 days after planting them. Use scissors to snip them at their base. You can eat them by themselves as a snack, or put them directly into salads, sandwiches, wraps, or on top of any dinner to make it look fancy! They have a nice nutty flavour and resemble the taste of sweet peas.
If you need any of the materials mentioned in this blog post, please vist the microgreens section of our website.
We focused on pea shoots here, but there are lots of different varieties you can try, our full collection of microgreen seeds can be seen here. Every pack comes with good directions on the pack. Growing microgreens is a really healthy and fun thing to do, especially if you have kids, they will enjoy the instant gratification of harvesting them after 2 weeks! It is also a great way of teaching them about how food is grown.